

vue项目创建可视化大屏
Vue3.0项目创建
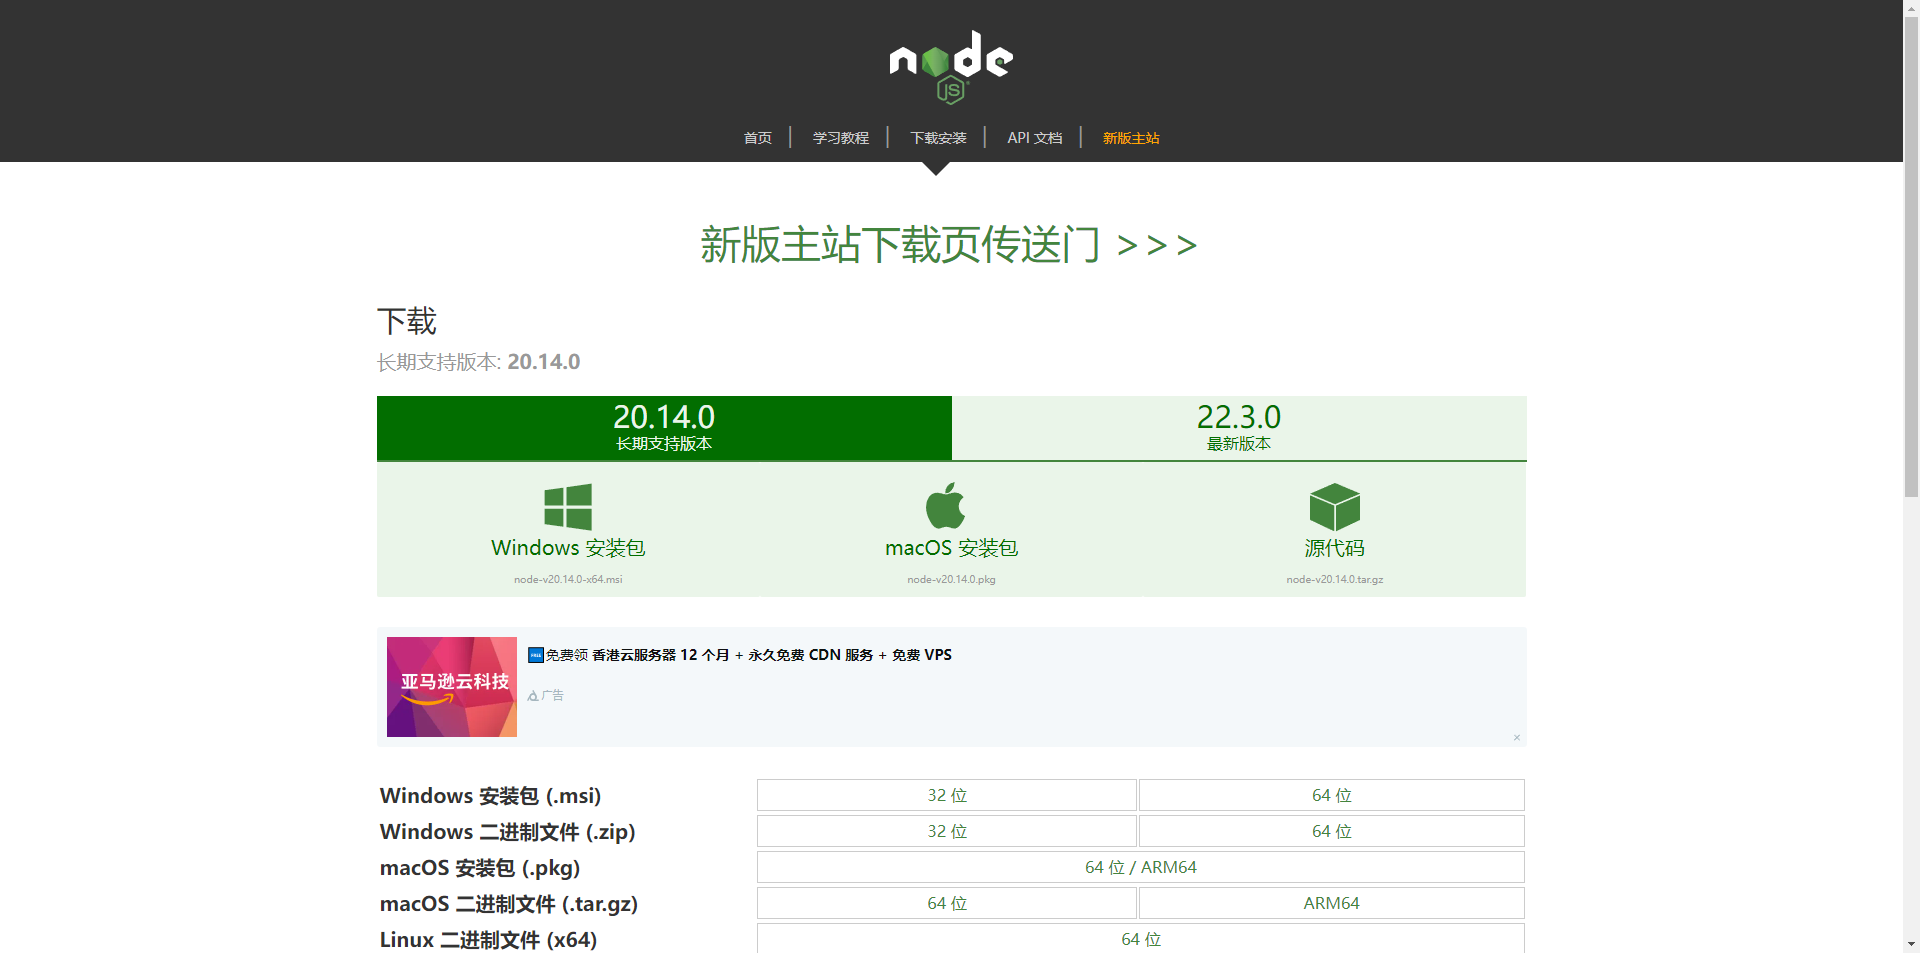
在电脑上安装node.js
需要在电脑上安装nodejs,Node.js官方下载网址:https://nodejs.cn/download/
验证node是否安装成功
安装时可将文件夹位置修改为D盘,然后接下来我们打开cmd运行指令
node -v
npm -v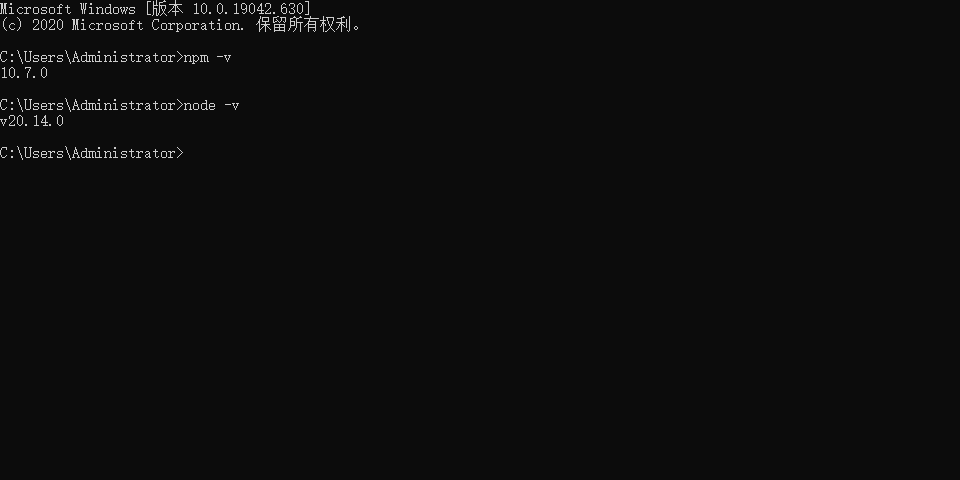
全局下载vue项目脚手架
接下来就是需要安装vue项目脚手架了,我们需要输入以下指令
npm install -g @vue/cli
需要等一下,用于检验是否安装成功,我们再用 vue -v 一下就可以了
创建vue3.0项目
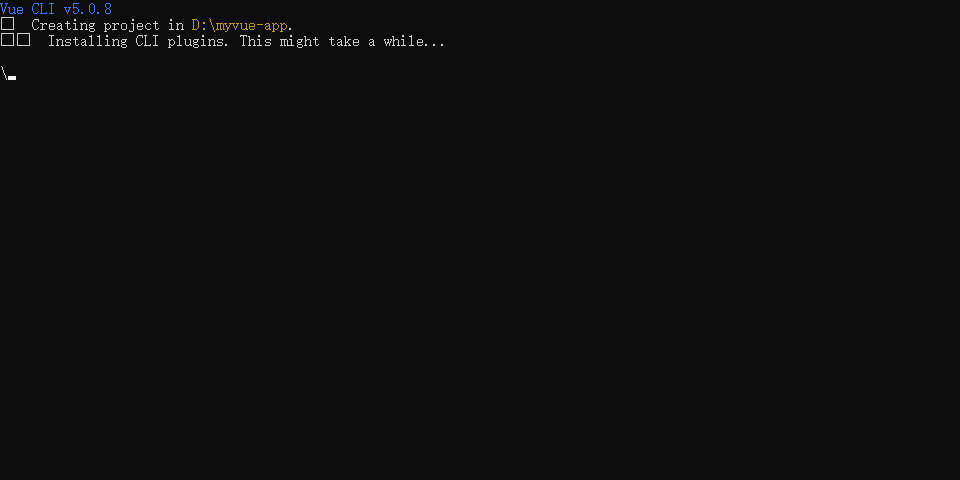
就需要我们在命令提示符(cmd)切换到D盘根目录下,执行命令 vue create myvue-app
d:
vue create myvue-app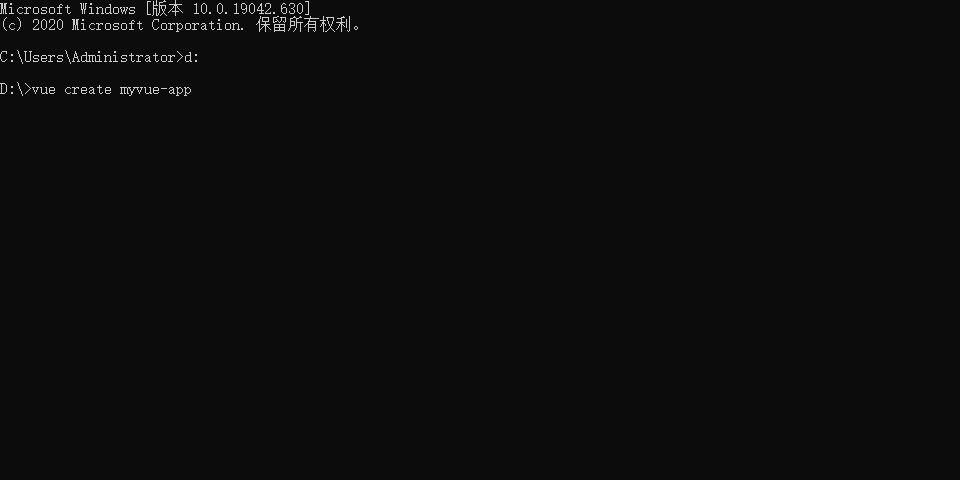
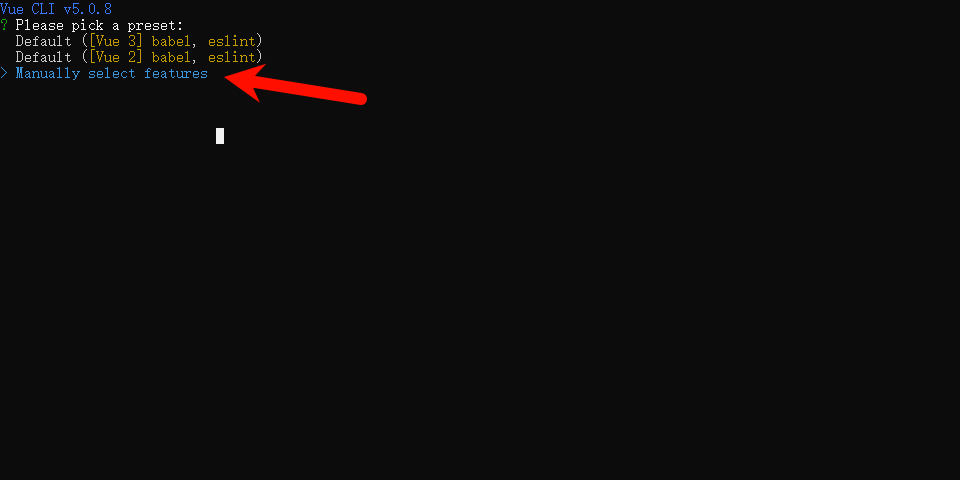
创建成功后弹出,选择Y,使用https://registry.npmmirror.com来加快安装速度
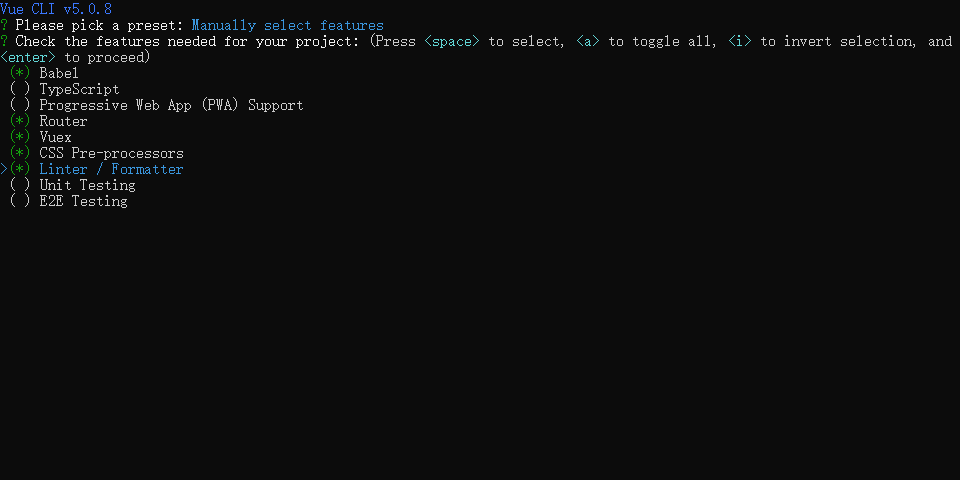
选择项目配置模板,选择Manually select features(自定义配置)
选择项目配置选项,如下勾选所需要的模块
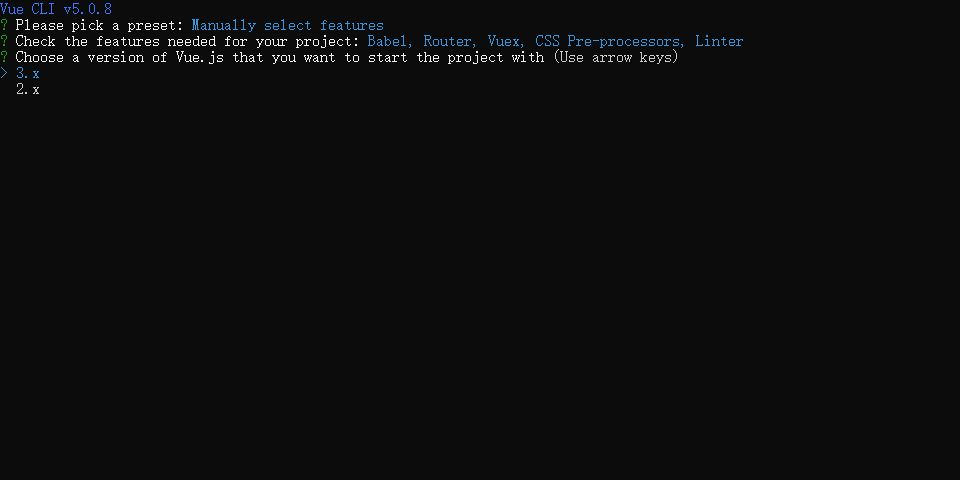
选择想要开始项目的Vue.js版本,选择3.x
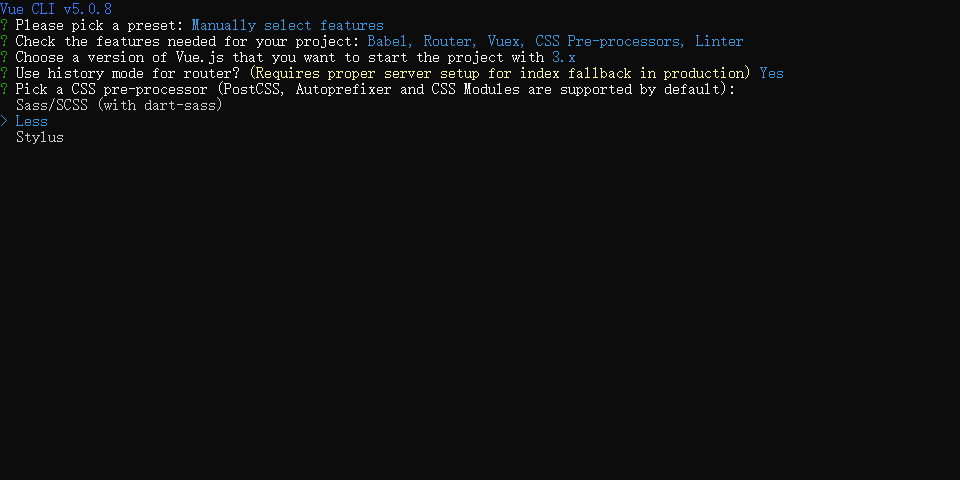
本次项目是否采用history模式,选择 n,不采用history模式,选择哪一种CSS预处理语言,选择Less
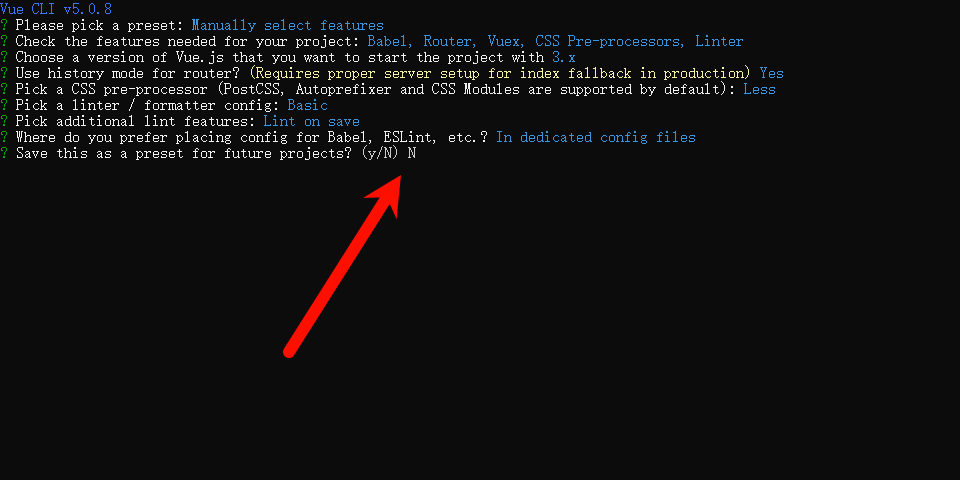
选择一种格式化代码方式,选择ESLint with error prevention only(只进行报错提醒)
询问项目什么时候进行代码规则检测,选择Lint on Save(保存时)
询问项目的配置文件放在哪里,通常选择放到独立位置,让package.json文件更干净整洁,选择In dedicated config files
是否保存配置当做后续项目的可选配置,我们选择不保存
然后我们就等他安装成功了
一般情况下,安装成功就是如下截图
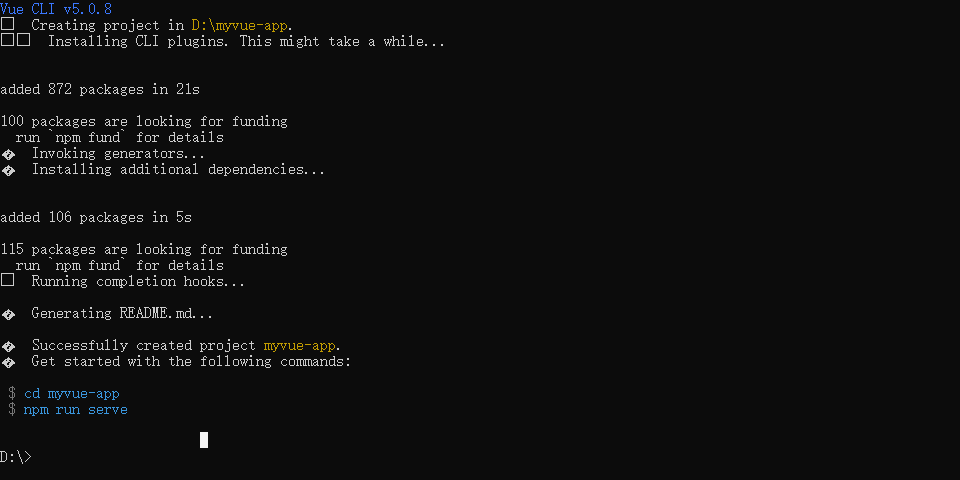
cd myvue-app 是说访问到这个项目
npm run serve 是说运行这个vue项目
项目初始化
使用vscode软件打开D盘下的myapp文件夹
删除views下的AboutView.vue和HomeView.vue文件
在views中新建我们的页面文件homePage.vue文件,并且填入以下代码
<template>
  <div>
    我是页面
  </div>
</template>

<script>
export default {

}
</script>

<style>

</style>
修改router下的index.js配置路由文件
import { createRouter, createWebHistory } from 'vue-router';

const routes = [
  {
    path: '/page',  // 路由路径
    name: 'About',  // 路由名称
    component: () => import('../views/homePage.vue')  // 路由组件懒加载
  },
修改app.vue根组件文件的默认显示内容与初始化项目样式
<template>
  <router-view/>
</template>

<style lang="less">
* {
  margin: 0px;
  padding: 0px;
  box-sizing: border-box;
}
</style>
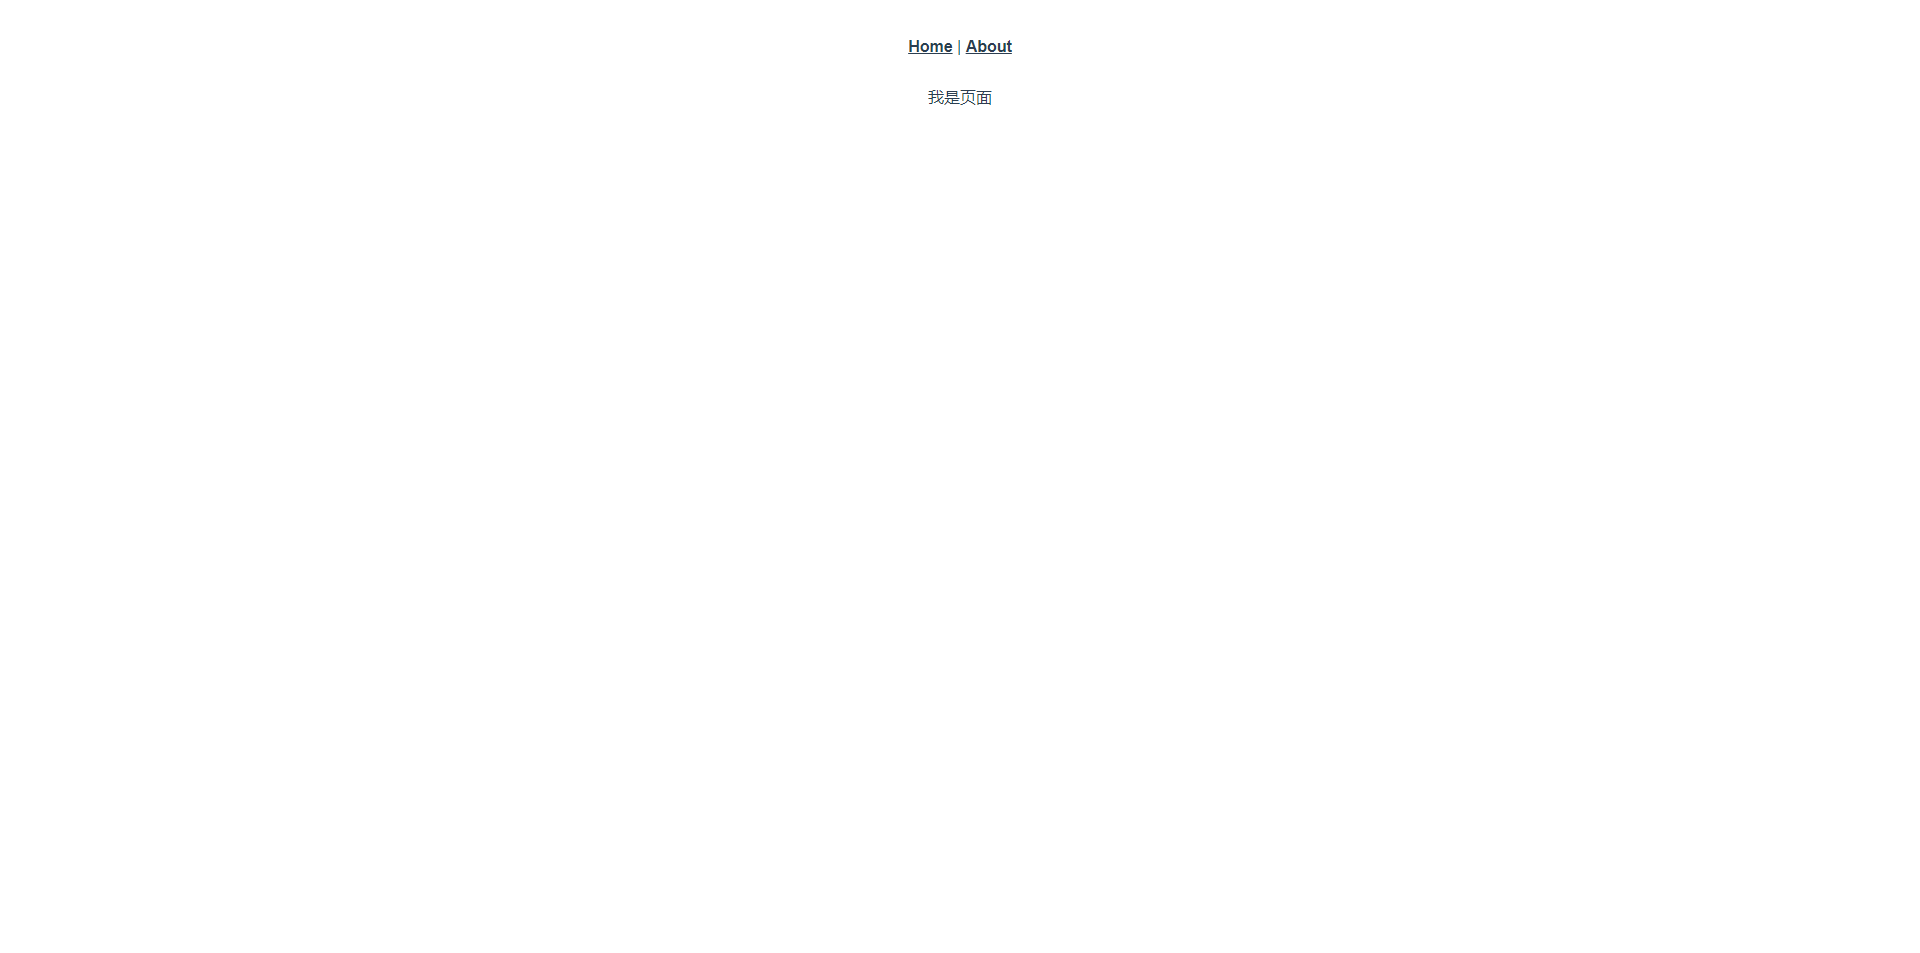
在Terminal中执行命令启动项目 npm run serve
然后我们在浏览器中输入返回的地址
项目分辨率响应式创建
flexible.js
flexible.js 是一个由阿里团队开源的 web 自适应方案库。使用 flexible.js,可以轻松解决各种移动端设备的兼容性和自适应问题。
npm i -S lib-flexible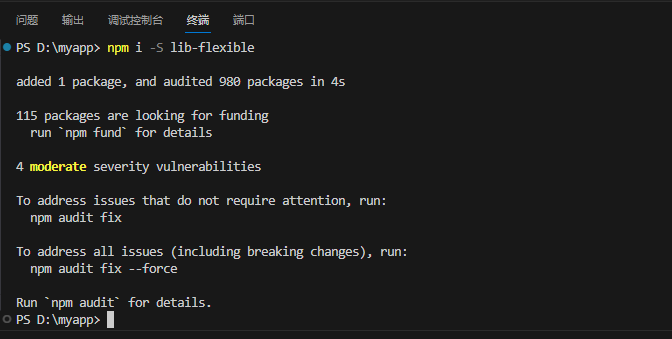
在main.js中进行配置
import { createApp } from 'vue'
import App from './App.vue'
import router from './router'
import store from './store'

// 引用flexible插件
import "lib-flexible/flexible.js"

createApp(App).use(store).use(router).mount('#app')
修改flexible配置,因为默认情况下 flexible.js 只在 540px 分辨率以下生效,所以我们需要根据项目的分辨率进行调整,修改 node_module/lib-flexible/flexible.js 中的代码如下:
        // if (width / dpr > 540) {
        //     width = 540 * dpr;
        // }
        // var rem = width / 10;

        // 修改 最小值400 最大值2560
        if (width / dpr < 400) {
            width = 400 * dpr;
        } else if(width / dpr > 2560){
            width = 2560 * dpr;
        }
        // 设置成24份 1920px设计稿 1rem 就是80px  (1920/24)=80
        var rem = width / 24;
cssrem插件
在编写代码时,我们发现如果按照 80px 为 1rem 进行转换非常麻烦,因此可以在VSCode软件中安装一个cssrem插件来帮助我们进行转换,这样在开发过程中会更加方便。
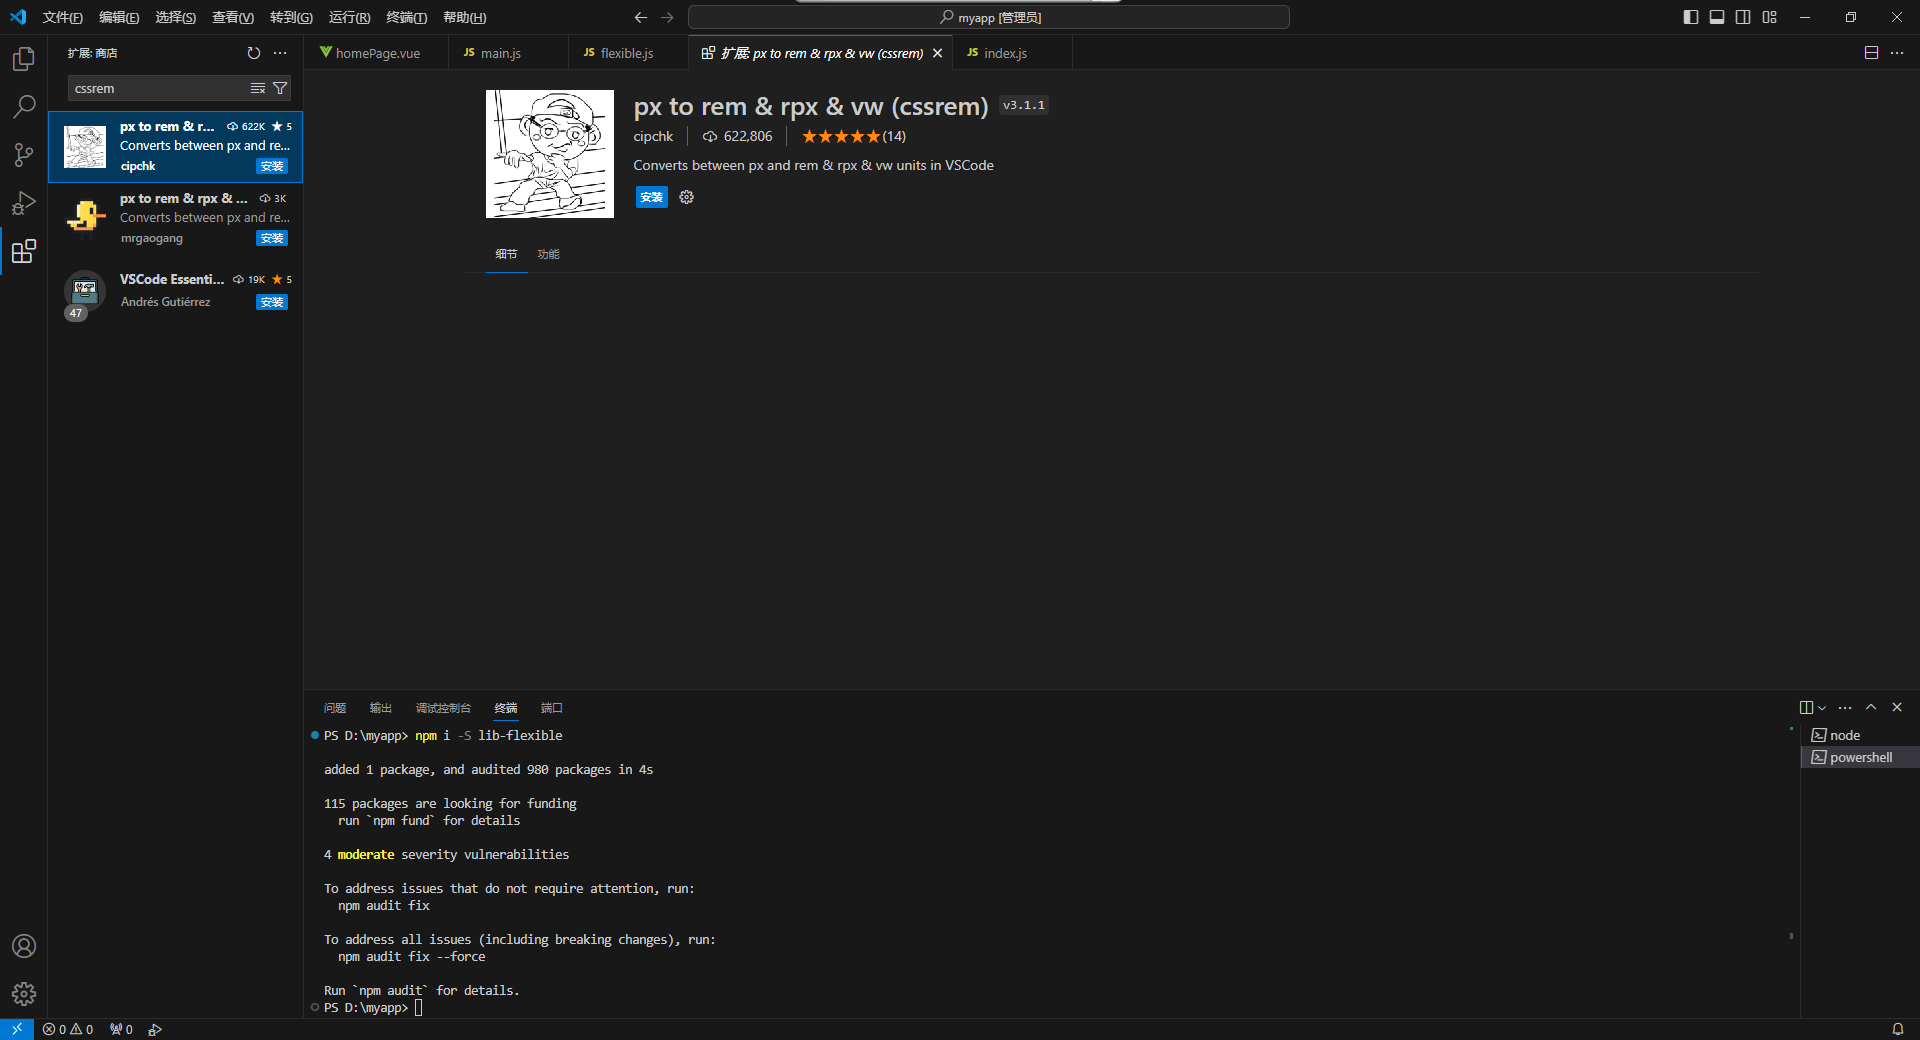
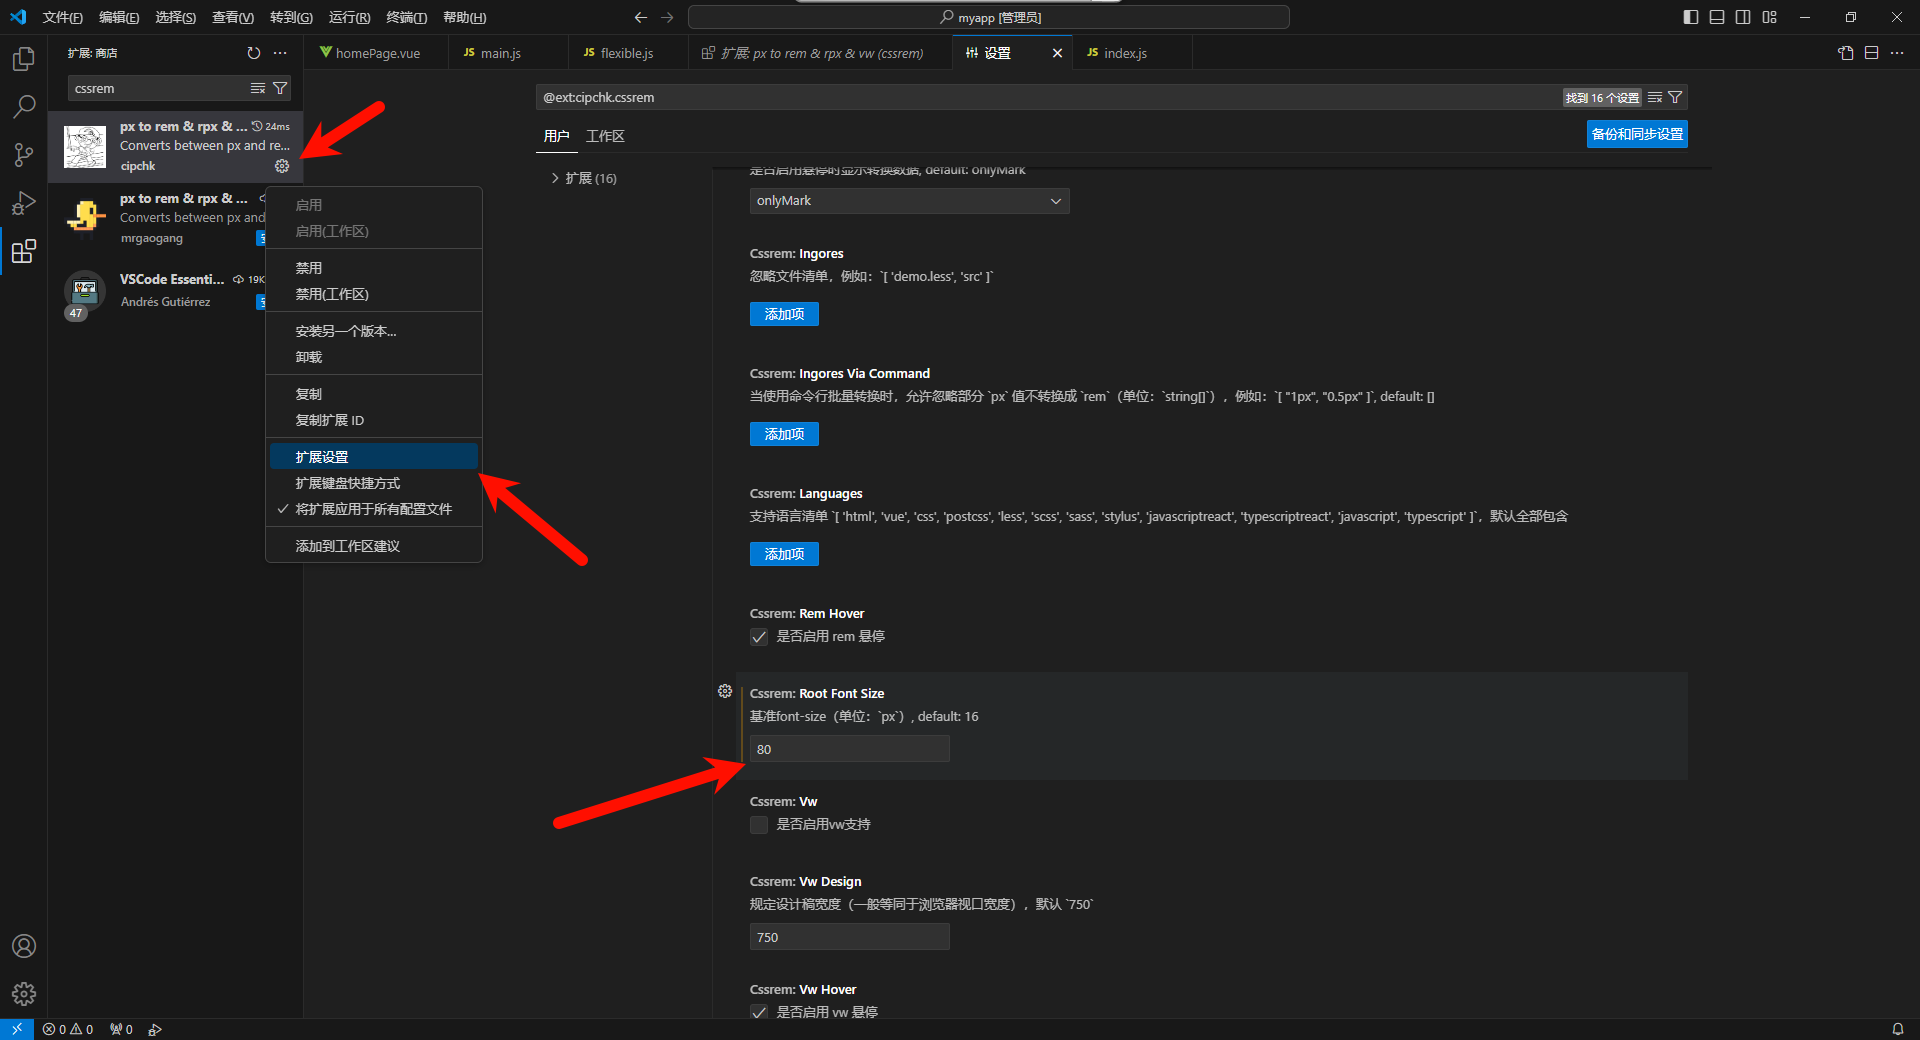
在VSCode的扩展中找到名为 "px to rem & rpx" 的cssrem插件并安装到VSCode中。安装完成后,你可以点击右下角的设置,然后修改 "Root Font Size"(基准字体大小)配置项为 80。
项目顶部信息条创建
设置背景图
把图片放入assets文件夹中,在app.vue中设置背景图,背景图地址:点我下载
body{
  background: url("~@/assets/bg.jpg") top center no-repeat;
}
设置标题文字
在homePage.vue中修改代码如下:
<template>
  <div>
    <header>
      <h1>大数据可视化--vue3.0与echarts</h1>
    </header>
  </div>
</template>

<script>
export default {

}
</script>

<style lang="less">
header {
  height: 3rem;  /* 设置头部高度为1rem */
  width: 100%;  /* 宽度100% */
  // background-color: rgba(0, 0, 255, 0.2);  /* 设置半透明淡蓝色背景 */
}

h1 {
  font-size: 2rem;  /* 标题字号 */
  color: #fff;  /* 标题文字颜色为白色 */
  text-align: center;  /* 文字居中 */
  line-height: 3rem;  /* 行高为1rem */
}
</style>
大容器
创建一个大容器来容纳绿色、红色、黄色三个区域
在homePage.vue页面中创建一个大容器
<template>
  <div>
    <header>
      <h1>大数据可视化--vue3.0与echarts</h1>
    </header>
    <!-- 大容器 -->
    <section class="container">

    </section>
  </div>
</template>
创建容器样式
<style lang="less">
header {
  height: 3rem;
  width: 100%;

  h1 {
    font-size: 1rem;
    color: #fff;
    text-align: center;
    line-height: 3rem;
  }
}

/* 主体容器样式 */
.container {
  /* 这里就不需要设置使用rem了 使用rem那么页面就会根据html根结点大小改变而改变了 */
  min-width: 1200px;
  max-width: 2048px;
  margin: 0 auto;
  /* 盒子上10px 左右10px 下0的外边距 */
  padding: .125rem .125rem 0;
  /* 测试完成看到样式就删除掉 */
  height: 500px;
  background-color: gray;
}
</style>
左中右
接下来我们可以创建左中右这三个部分,那么他们的占比分别是3、5、3,这个时候我们可以使用flex布局来分割他们所占的区块大小。
创建左中右三个页面容器
<template>
  <div>
    <header>
      <h1>大数据可视化--vue3.0与echarts</h1>
    </header>
    <!-- 大容器 -->
    <section class='container'>
      <!-- 左容器 -->
      <section class='itemLeft'>1</section>
      <!-- 中容器 -->
      <section class='itemCenter'>2</section>
      <!-- 右容器 -->
      <section class='itemRight'>3</section>
    </section>
  </div>
</template>
设置样式
<style lang="less">
header {
  height: 3rem;
  width: 100%;

  h1 {
    font-size: 1rem;
    color: #fff;
    text-align: center;
    line-height: 3rem;
  }
}

/* 主体容器样式 */
.container {
  /* 这里就不需要设置使用rem了 */
  min-width: 1200px;
  max-width: 1900px;
  margin: 0 auto;
  /* 盒子上10px 左右10px 下0的外边距 */
  padding: .125rem .125rem 0;
  display: flex; /* 父容器设置flex布局才能在子元素使用 */

  /* 设置左中右的占比 但是不要忘了在父容器要设置flex */
  .itemLeft,
  .itemRight {
    flex: 3;
  }
  .itemCenter {
    flex: 5;
  }
}
</style>运行之后会发现页面的左和右占比是页面各的3份,而中间是占比5份
左右图表展示区块容器样式
大家会发现我们要展示的四个区域的容器效果是一样的,因此我们可以将其剥离成一个组件,并且重复调用即可。在组件中放置一个 slot 槽口,这样以后就可以方便地向容器内插入不同的图表。
创建容器组件
在components文件夹下创建 itemPage.vue,编写样式与插槽
<template>
    <div class="item">
      <!-- 设置插槽 -->
      <slot></slot>
    </div>
  </template>

  <script>
  export default {

  }
  </script>

  <style lang="less">
  .item {
    height: 5.125rem;
    border: 1px solid blue;
    margin: .25rem;
    background-color: rgba(12, 130, 255, .85);
  }
  </style>
在views下的homePage.vue中引用调用使用
<template>
<div>
<header>
<h1>大数据可视化--vue3.0与echarts</h1>
</header>
<!-- 大容器 -->
<section class='container'>
<!-- 左容器 -->
<section class='itemLeft'>
<!-- 使用组件 -->
<ItemPage/>
<ItemPage/>
</section>
<!-- 中容器 -->
<section class='itemCenter'>2</section>
<!-- 右容器 -->
<section class='itemRight'>
<!-- 使用组件 -->
<ItemPage/>
<ItemPage/>
</section>
</section>
</div>
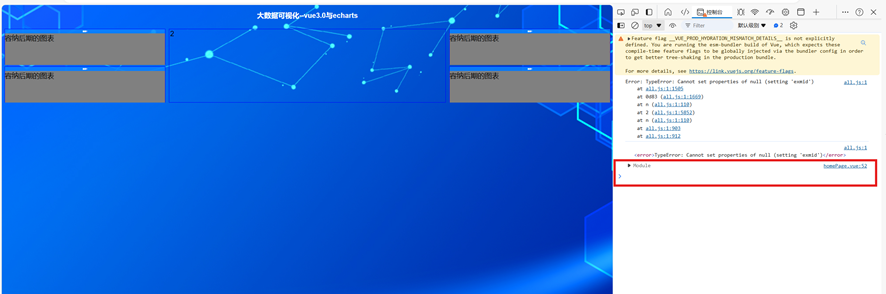
</template>运行之后大家会发现左右区块就展现出4个容器
图表前期准备
ECharts 全局引用
终端输入
npm install --save echarts
Vue2.0的写法
在vue2.0中使用如下写法把echarts挂载在vue实例上,但是这招在3.0行不通了在main.js中进行引用和调用
import { createApp } from 'vue'
import App from './App.vue'
import router from './router'
import store from './store'
// 引用
import 'lib-flexible/flexible.js'
// 引用echarts
import * as echarts from "echarts" Vue.prototype.$echarts=echarts;

createApp(App).use(store).use(router).mount('#app')
Vue3.0中使用Provide/Inject依赖注入,将替代vue2中在原型链上挂载一些属性
在app.vue中使用provider来给后代们提供数据
<script>
  // 1.引用proivde
  import { provide } from "vue";
  // 2.引用echarts
  import * as echarts from "echarts";

  export default {
    setup() {
      provide("echarts", echarts);
      // 第一个参数是名字,第二个参数是你传递的内容
    },
  };
</script>
在想使用的组件中使用inject来接受,在views下的homePage.vue测试
<script>
// 引用组件
import ItemPage from "@/components/itemPage.vue";
// 引用左右4个小组件
import itemOne from "@/components/itemOne.vue";
import itemTwo from "@/components/itemTwo.vue";
import itemThree from "@/components/itemThree.vue";
import itemFour from "@/components/itemFour.vue";
// 引用inject
import { inject } from 'vue';

export default {
  components: {
    ItemPage,itemOne,itemTwo,itemThree,itemFour
  },
  setup() {
    // 测试使用echarts
    let $echarts = inject("echarts");
    console.log($echarts);
  }
};
</script>
我们在console中可以看到echarts可以正常使用了
axios全局引用
axios使用于上面相同方式
npm install --save axios在app.vue中使用provider来给后代们提供数据
  <script>
import {provide} from "vue"
import * as echarts from "echarts"
import axios from "axios"

export default {
  setup(){
    // provider("名字随便起","传递的内容")
    provide("echarts",echarts)
    provide("axios",axios)
  }
}
</script>
在想使用的组件中使用inject来接受,在views下的homePage.vue测试
<script>
// 引用组件
import ItemPage from "@/components/itemPage.vue";
// 引用左右4个小组件
import itemOne from "@/components/itemOne.vue";
import itemTwo from "@/components/itemTwo.vue";
import itemThree from "@/components/itemThree.vue";
import itemFour from "@/components/itemFour.vue";
// 引用inject
import { inject } from 'vue';

export default {
  components: {
    ItemPage,itemOne,itemTwo,itemThree,itemFour
  },
  setup() {
    // 测试使用echarts、axios
    let $echarts= inject("echarts")
    let $http= inject("axios")
    console.log($echarts)
    console.log($http)
  }
};
</script>
我们在console中可以看到echarts可以正常使用了


空空如也!